

Bumper cover, mounts, reinforcement and parking aids
Range Rover Bumper Repair Dubai
A bumper is a complete assembly, not only the painted outer cover. Cracks, dents and scuffs can be cosmetic, but an impact can also break guides, absorber material, reinforcement mounts, lamps, parking sensors, cameras or wiring. We assess the full bumper system before recommending repair or replacement.
The bumper is built in layers
Inspect the system behind the painted surface
Two bumpers with similar scuffs can need very different work. The decision depends on the cover material, the location of the damage and what moved behind it.
The damage pattern chooses the route
Five bumper problems that should not receive one generic repair
The repair method should follow material condition, mount integrity and the impact path. Painting over the surface can hide a weak repair that later cracks or sits out of line.
Paint transfer and shallow scuffing
Transferred material may sit on top of the clear coat and can sometimes be removed without repainting. Deeper abrasion can cut through colour, expose the substrate or roughen textured trim. The area should be cleaned before the paint depth is judged.
Dents and heat distortion
Flexible bumper material can deform without splitting, but the shape may not return evenly. The technician checks stretched material, sharp creases, sensor openings, lower edges and previous repair. Controlled reshaping can be suitable only when the material remains stable.
Cracks, tears and damaged tabs
A repairable split needs enough sound material around it and a method suited to the bumper material. Cracks near corners, sensor apertures, lamp openings or mounting tabs carry more load than a central cosmetic split. Missing material and multiple previous repairs reduce repair quality.
Loose corner or incorrect panel gap
A raised bumper corner often involves a broken side guide, bracket, tab, clip or distorted adjacent wing edge. Replacing clips alone will not solve a bent guide or torn bumper tab. The bumper should be trial fitted before paint work is treated as complete.
Impact with sensor, lamp or reinforcement involvement
A warning message, parking-aid fault, loose lamp or strong impact changes the scope. Sensors and cameras may be undamaged but moved by a broken bracket. Reinforcement, absorber, wiring, undertrays and nearby panels should be inspected before the cover is refinished.
Repair or replacement is a technical decision
When bumper repair is sensible and when replacement is safer
Repair may be suitable when
- The cover material is identified and remains stable
- The dent or crack is in a repairable location
- Critical mounting tabs can be restored securely
- There is no unacceptable heat distortion or missing material
- Sensor and lamp apertures can return to correct shape
- The repair does not depend on excessive filler
The quotation should describe the plastic or surface repair, preparation, paint area and trial-fit check.
Replacement may be appropriate when
- The cover is torn across several loaded areas
- Important tabs or apertures are missing or badly distorted
- Previous repair has left weak or contaminated material
- The cover cannot hold correct shape after trial fit
- Sensor, camera or lamp mounting geometry cannot be restored reliably
- The cost and risk of repair no longer make sense
Replacement still requires transfer and inspection of trims, brackets, sensors, lamps and fasteners.
Do not drive normally with a loose bumper assembly
A detached corner, hanging undertray, loose lamp, exposed wiring or material contacting a tire can create a road hazard and damage more parts. Secure assessment or recovery may be more appropriate than normal driving.
Parking aids are part of the bumper repair
Sensor and camera faults can be caused by position, not only electronics
Parking sensors and cameras depend on secure holders, correct orientation, clean surfaces, sound wiring and the surrounding bumper shape. A sensor can still communicate electronically while pointing incorrectly because its bracket has moved. Paint thickness, filler, contamination or an unsuitable repair around the opening can also affect operation.
The workshop should record warnings before dismantling, inspect the mounts and wiring, then test the system after the bumper is fitted. Model-dependent calibration or setup should be carried out only when the vehicle and repair procedure require it.
One process from assessment to final fit
How the bumper repair is completed
Record damage
Photograph fit, cracks, scuffs, warnings and adjacent panels before removal.
Inspect behind
Check guides, absorber, reinforcement, wiring, lamps and undertrays.
Choose route
Approve repair or replacement based on material, mounts and impact evidence.
Trial fit
Restore brackets and gaps before final paint preparation.
Refinish
Prepare the substrate and match colour, texture and gloss.
Verify
Check fit, fasteners, lamps, sensors, cameras and road security.
Paint quality depends on preparation
Bumper colour matching must account for a flexible substrate
The bumper can appear slightly different from a metal panel even when the colour formula is correct because the substrate, viewing angle and previous finish differ. The repair should restore the shape first, use preparation suitable for the bumper material and match colour, metallic or pearl orientation, texture and gloss to the surrounding vehicle.
Parking-sensor openings, textured lower trims, grille edges and mouldings need clean boundaries. Badges, lamps and trims should not be buried under overspray. A freshly painted cover should be trial fitted and inspected from several angles rather than judged only under one workshop light.
The bumper specification is vehicle-specific
Model, trim and fitted driver-assistance equipment change the repair scope
A bumper cover that looks similar in a photograph may have different openings, brackets, tow-eye covers, grilles, spoilers, sensors or camera mounts. The VIN and a clear view of the complete front or rear assembly should guide part selection.
Full-size Range Rover and Range Rover Sport
Large bumper assemblies can combine several lower trims, air guides, lamp units and parking-aid components. A low impact can break hidden guides even when the painted face returns close to shape. The estimate should separate reusable trim from damaged mounting parts.
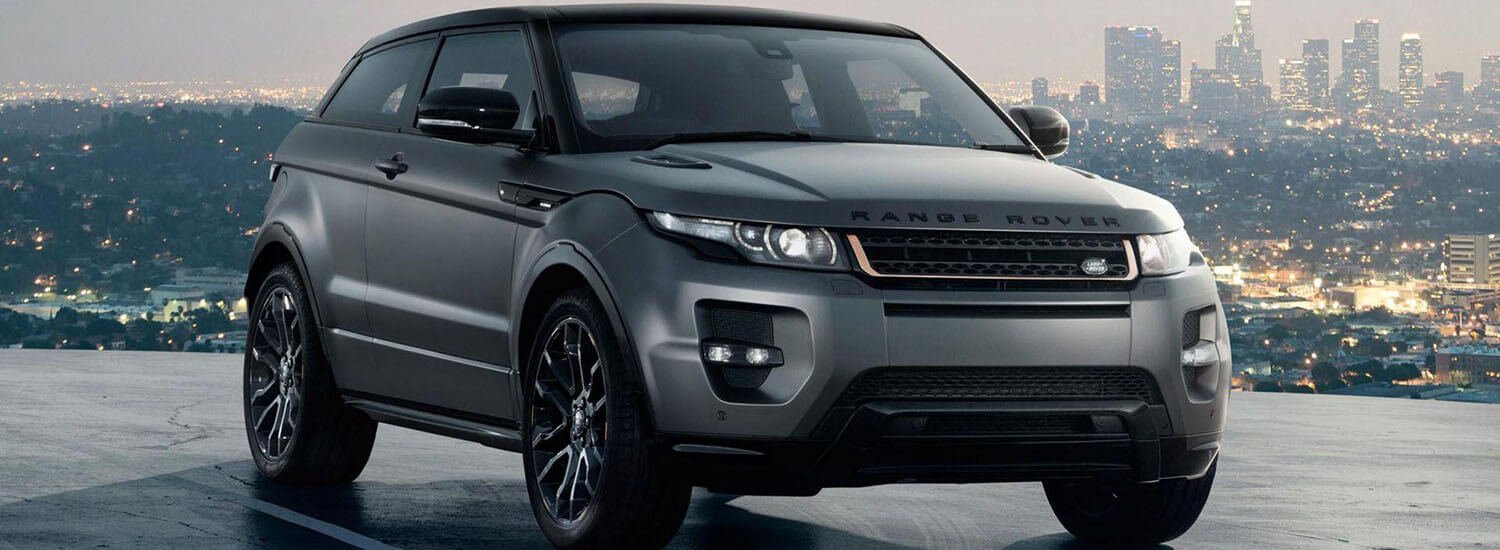
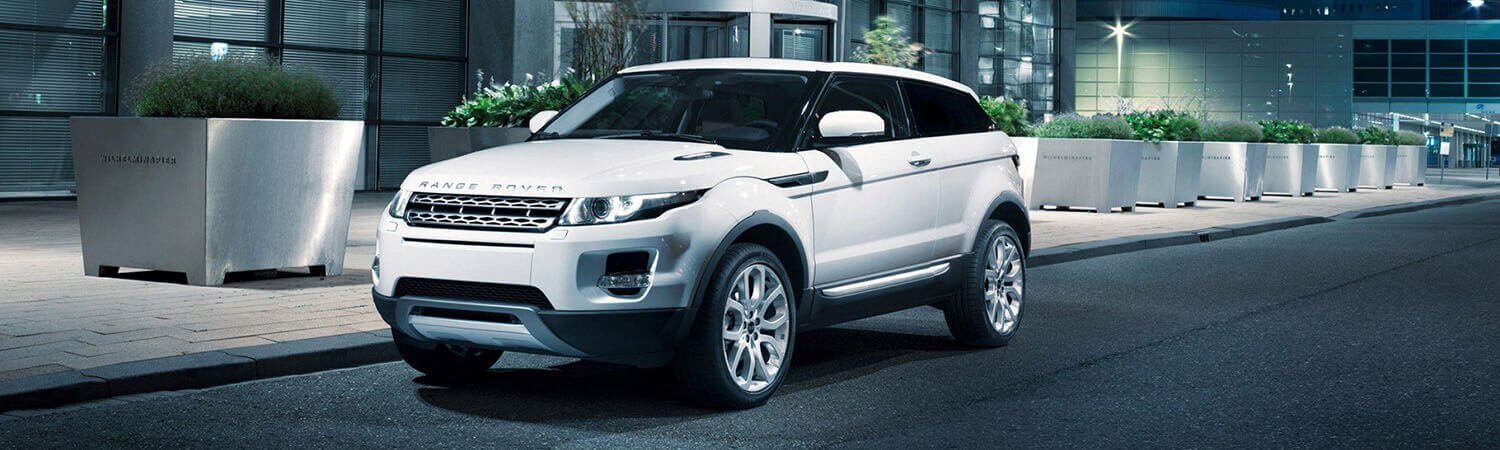
Evoque and Velar
Closely integrated styling pieces and compact sensor positions make alignment important. A cover repaired without confirming grille, lamp and wheel-arch relationships can leave uneven gaps or sensor faces that no longer sit correctly.
Appearance packages and towing equipment
Black packs, contrasting lower sections, tow-bar covers and model-specific finish details need to be identified before paint and parts are ordered. A generic smooth or gloss finish can create an obvious mismatch.
Common bumper misdiagnosis
A parking warning after an impact is not automatically a failed sensor. A bent holder, incorrect angle, damaged harness, displaced cover or contamination can create the same complaint. Physical position and electrical evidence should agree before the component is replaced. This avoids paying for an electronic part when the real fault is the holder, cover or harness.
Do not approve paint-only work when the bumper moves by hand
Movement at a corner, a widening lamp gap or a cover that repeatedly pops out suggests a mounting or guide problem. Refinishing the surface without restoring support can leave the appearance and parking-aid position incorrect.
The outer mark does not define the total scope
What changes the Range Rover bumper repair quotation
The cost depends on the location and depth of damage, bumper material, broken tabs, guides, absorber or reinforcement findings, lamps, grilles, lower trims, sensors, cameras, wiring, paint area and adjacent body damage. A central scuff can be mainly cosmetic. A small corner impact can involve more hidden parts because the bumper joins the wing, lamp, liner and side guide there.
A clear quotation should separate plastic or surface repair, replacement parts, paint materials, removal and refitting, sensor or camera checks and any related body-shop work. Prices and completion times should be confirmed after the vehicle and approved scope are known.
Range Rover bumper questions
Answers before repair approval
Can a cracked Range Rover bumper be repaired?
Some cracks can be repaired when the material, location and surrounding structure remain suitable. Cracks through loaded mounting areas, missing material, severe distortion or repeated previous repairs may make replacement the better route.
Why is the bumper corner sticking out?
A broken side guide, bracket, clip, torn bumper tab or distorted wing edge can cause the corner to lift. Clips alone will not solve damage to the guide or mounting surface.
Does a bumper scuff always need repainting?
No. Some marks are transferred material or shallow clear-coat damage. The area should be cleaned and inspected before polishing, local repair or repainting is recommended.
Can bumper damage cause parking-sensor warnings?
Yes. The impact can move or break a holder, damage wiring, contaminate the sensor surface or distort the bumper around the opening. The sensor itself may still be electrically functional.
Can only one section of the bumper be painted?
The repair boundary depends on damage location, colour, shape and the ability to create a natural finish. The painter should explain whether a local repair, larger bumper area or complete cover refinish is appropriate.
What should be checked behind the bumper?
Side guides, brackets, absorber material, reinforcement, wiring, lamps, sensors, cameras, grilles, undertrays, wheel-arch liners and adjacent panel edges may need inspection.
What should I send before booking?
Send the VIN, a full view of the affected end, close photographs, both side gaps, any warning messages and a description of rattling, loose parts, lamp or parking-aid problems.
Book Range Rover bumper assessment in Dubai
Check the cover, mounts and parking aids before deciding repair or replacement
Send the VIN, wide and close photographs, bumper-to-panel gaps and any warning messages. The workshop can then prepare the correct inspection for the cover, brackets, reinforcement, lamps, sensors and adjacent damage.